Overview
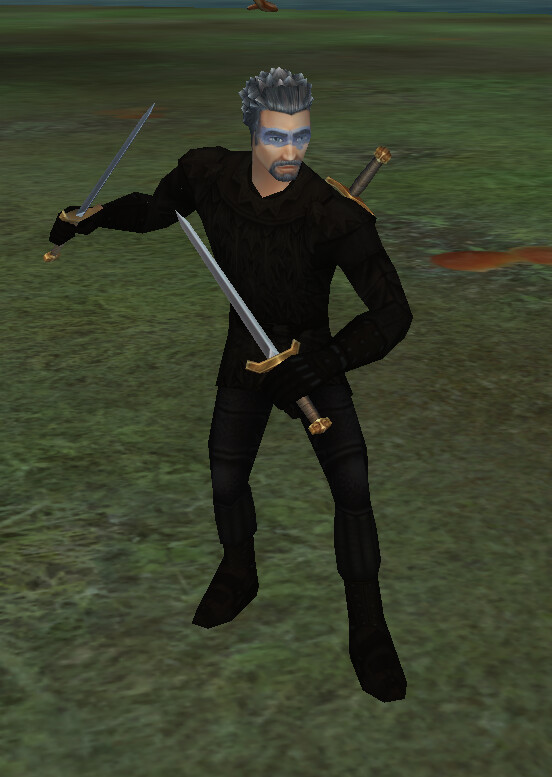
The Blademaster is Hibernia’s pure light tank: a fast, aggressive melee class built around sustained pressure, target swaps, and punishing exposed enemies. Unlike a Hero, who anchors fights with durability and slam utility, or a Champion, who brings debuffs and utility, the Blademaster exists primarily to kill people quickly. Their defining trait is dual wielding through Celtic Dual, giving them very high swing frequency and consistent pressure, backed by strong evade and offensive style chains. Blademaster is a good choice for melee dps oriented players that want a simple yet effective role in Hibernia.
Group Playstyle
In 8v8, the Blademaster is usually your assist train DPS. Their job is simple in theory but demanding in practice: stay glued to the assist target, maximize damage uptime, and explode vulnerable enemies before support can stabilize. A good Blademaster is constantly reading the fight asking: Is their healer overextended? Did their caster burn Purge? Is someone rooted or stunned? Unlike peel tanks, BMs generally do not want to waste time babysitting unless the situation is desperate. Their value is momentum.
At a high level, playing Blademaster means thinking about pressure efficiency:
-
Can I stay on this target?
-
Am I hitting the correct target?
-
Is this kill realistic, or should I swap?
-
Is the enemy peel tank coming to neutralize me?
-
Do I need to peel for 3-5 seconds to save my Druid, then re-engage?
Damage Uptime
One of the most important concepts for a Blademaster in 8v8 is damage uptime… or the amount of time you are actively landing meaningful damage on a kill target. At high level play, fights are often decided less by raw DPS and more by which melee train maintains better uptime. If you spend 10 seconds rooted, peeled, chasing, or hitting the wrong target, your effective damage drops to zero. That lost pressure gives enemy healers time to recover, reset, and stabilize.
For a Blademaster, this means understanding when to stay committed and when to switch.
A common mistake is tunneling one target while enemy peel tanks lock you down. If you’re chasing a healer but getting slammed, snared, or guarded by their tanks, your uptime is collapsing. Sometimes the right decision is to immediately swap onto the peeler, force them defensive, and punish their positioning by counter-peeling. Other times you swap to a nearby caster or support simply because they’re open and free damage is better than no damage.
Good BMs are constantly asking:
-
Am I actually hitting something right now?
-
Is my target reachable or am I being kited?
-
Who is peeling me?
-
Is there a softer target closer?
-
Can I force a defensive cooldown with a quick swap?
This is where the Blademaster’s offensive tools matter. When you recognize a real kill window, you commit hard:
-
Triple Wield – huge burst window, dramatically increasing pressure and forcing panic heals.
-
Flurry – frontloaded extra damage that can push a target over the edge before they stabilize.
-
Positional chains – side and rear styles can massively amplify your output if you maintain clean positioning.
Hib Tanker Playstyle
In classic Hibernia “hib tanker” setups (usually 4–5 support and 3–4 melee, sometimes called “4 Natty” or “5 Natty”) the Blademaster often serves as the Main Assist (MA) and is effectively the offensive quarterback of the group. This is a huge responsibility, because the BM isn’t just doing damage but they’re controlling the flow of the kill pressure.
The way these groups usually function is through split pressure. On the initial engage, melee do not immediately hard assist the same target. Instead, they spread out onto different enemy players to create chaos, force heal spread, burn enemy support mana, and trigger defensive reactions. One tank may be harassing a healer, another may be forcing a caster to kite, while another pressures a peel tank. This stretches the enemy support line thin and makes it harder for them to cleanly stabilize.
The Blademaster, as MA, is watching all of this unfold and looking for the crack:
-
Who is overextended?
-
Who got rooted or slammed?
-
Who burned Purge?
-
Which support is interrupted?
-
Which target is isolated from guard or heals?
The moment that kill window appears, the BM calls the assist target and all available melee collapse instantly. That’s when the fight transitions from distributed pressure into focused execution. This timing is everything… if you collapse too early, enemy support is still stable and can heal through it. Too late, and the window closes.
This is what makes Hibernia tank groups so dangerous: their support core (Bard, Druids, Warden, sometimes utility hybrids) is extremely good at locking down enemy support while the melee train converges. The Bard is amnesiaing and interrupting, Druids are disrupting with roots or pets, and the Warden is enabling the frontline. That means when the BM makes the assist call, the enemy healers often have only a small window, or no window at all, to respond.
At high level, playing BM in this setup is about more than personal damage. It’s about recognizing when split pressure has matured into a kill opportunity, then making the correct assist call. A great Blademaster creates kills not just by swinging, but by knowing when the group should stop spreading pressure and commit everything into one target. That decision often wins the fight.
Group Spec Options:
Blademaster character builder:
https://blackthorn-daoc.com/class/Blademaster
50 Celtic Dual, 42 Shield, 39 Weapon
-
Most common spec
-
50 CD gives you best celtic dual damage and style arsenal
-
42 Shield is mandatory for group play due to getting Level 42 Slam (9.0 sec stun) style
-
Weapon choice can be any of blades, pierce, or blunt
- People tend to pair the weapon to the race. For example, Firbolgs typically go Blades or Blunt since they have higher Srength. Elves usually go Pierce due to higher Dexterity, etc.
Group Realm Ability Builds:
-
First priority: Determination, Purge, Long Wind
Your value to a group is determined by your availability to deal damage. If you are sitting out CC, you are not helping your group. **
** -
Second priority: Mastery of Pain, Charge
Some players might prefer Prevent Flight here, but because BMs already have a wide array of snare options, getting dmg up even higher is probably more useful.
Charge is a gap closer that -while not being hugely impactful- can make a life or death difference in a chasing or fleeing moment.
- Third priority: Passives (e.g., Avoidance of Pain) and other Actives
Solo Playstyle
Blademasters are above-average 1v1 duelists and can be extremely dangerous in the hands of a skilled player. Their strength comes from a combination of very high sustained damage, strong burst windows, and a versatile melee toolkit that gives them multiple ways to control and finish fights.
Their raw offensive pressure is one of the biggest reasons they perform well solo. With fast dual-wield swings and strong style chains, a BM can overwhelm opponents quickly, especially squishier classes or anyone who falls behind on tempo. Unlike heavier tanks that rely on slow, deliberate damage, BMs can create constant pressure and punish mistakes fast.
A major part of their dueling strength is access to Slam (when specced appropriately). In 1v1, Slam is often the fight-defining moment. A 9-second stun gives the BM a massive free damage window, and against lighter targets, or even other melee if timed well, that can be enough to outright end the fight. If the BM layers that stun with Triple Wield, Flurry, or high-value positional styles, the burst can be overwhelming.
Their toolkit also gives them flexibility in different matchups:
-
High evade gives them defensive value against other melee.
-
Fast attack speed makes them strong at interrupting and pressuring casters.
-
Burst cooldowns let them capitalize hard when they gain control.
-
Strong style chains reward good positioning and timing.
That said, their biggest limitation in solo play is lack of speed. Unlike classes like Skalds or Minstrels, a Blademaster cannot easily choose when to engage or disengage. This makes them more vulnerable to kiting, getting avoided, or being picked apart by ranged classes that can dictate spacing. If a fight goes bad, they usually have to commit and live with it.
PvE/Leveling
Blademaster is Hibernia’s pure melee damage machine. In PvE leveling groups, the Blademaster has one job above all else: Maintain nonstop damage uptime as the off-tank. You are not the main aggro holder. You are the class that turns stable pulls into fast kills. If the tank controls the fight, your job is to make the mob disappear as quickly as possible.
Core Role: Off-Tank DPS Engine
In a typical Hibernian leveling group:
-
Hero usually holds primary aggro
-
Champion may assist with control or debuffs
-
You provide raw sustained melee pressure
Your role is simple:
-
Assist the main tank’s target
-
Stay glued to the mob
-
Keep swinging
Your value comes entirely from uptime.